As is well known, reaming is the last process in the hole system. If certain factors affect it, it is likely that qualified finished products will instantly become waste products. So what should we do if we encounter problems? OPT cutting tools have organized some issues and measures that arise in the practical application of Reamer, hoping that you can gain some insights in the article.
1. Poor roughness of the inner hole
reason
1.The cutting speed is too high.
2.The selection of Cutting fluid is inappropriate.
3.The main deviation angle of the reamer is too large, and the cutting edge of the reamer is not on the same circumference.
4.The reaming allowance is too large, uneven or too small, and the local surface is not reamed.
5.The swing deviation of the cutting part of the reamer exceeds the tolerance, the cutting edge is not sharp, and the surface is rough.
6.The cutting edge of the reamer is too wide.
7.Poor chip removal during reaming.
8.Excessive wear of the reamer.
9.The reamer is bruised, leaving burrs or chipping on the edge.
10.There is a buildup of debris on the cutting edge.
11.Due to material constraints, it is not suitable for zero degree or negative rake angle reamers.
Response measures
1. Reduce cutting speed.
2. Select Cutting fluid according to the processing materials.
3. Reduce the main deviation angle appropriately and grind the cutting edge correctly.
4. Reduce the reaming allowance appropriately.
5. Improve the accuracy and quality of the bottom hole position before reaming or increase the reaming allowance.
6. Grind the width of the blade belt.
7. Reduce the number of teeth on the reamer according to the specific situation, increase the space for the chip holding groove, or use a reamer with a blade inclination angle to ensure smooth chip removal.
8. Regularly replace the reamer and remove the grinding area during blade grinding.
9. During the grinding, use, and transportation of the reamer, protective measures should be taken to avoid collision.
10. For the damaged reamer, use a fine oilstone to repair it or replace it.
2. Inner hole roundness
reason
1. The reamer is too long and lacks rigidity, resulting in vibration during reaming.
2. The main deviation angle of the reamer is too small.
3. The cutting edge of the reamer is narrow.
4. Excessive reaming allowance.
5. There are notches and cross holes on the surface of the inner hole.
6. There are sand holes and pores on the surface of the hole.
7. The spindle bearing is loose, there is no guide sleeve, or the clearance between the reamer and the guide sleeve is too large, or the workpiece is deformed after removal due to the tight clamping of thin-walled workpieces.
Response measures
1. Reamers with insufficient rigidity can use reamers with unequal tooth pitch, and the installation of the reamer should use rigid connections to increase the main deviation angle.
2. Select qualified reamers and control the hole position tolerance of the pre processing process. Using unequal pitch reamers and using longer and more precise guide sleeves; Select qualified blanks.
3.When using equal pitch reamers to ream more precise holes, the spindle clearance of the machine tool should be adjusted, and the fit clearance of the guide sleeve should be higher or appropriate clamping methods should be used to reduce clamping force.
3. The centerline is not straight
reason
1. The drilling deviation before reaming, especially when the aperture is small, cannot correct the original bending due to poor rigidity of the reamer.
2. The main deviation angle of the reamer is too large; Poor guidance makes it easy for the reamer to deviate from the direction during reaming.
3. The inverted cone of the cutting part is too large.
4. The reamer shifts at the gap in the intermittent hole.
5.When hand reaming, excessive force is applied in one direction, forcing the reamer to tilt towards one end, damaging the vertical 5 degrees of the reaming.
Response measures
1. Increase the process of expanding or boring holes to correct the holes.
2. Reduce the main deflection angle.
3. Adjust the appropriate reamer.
4. Replace the reamer with a guiding part or an extended cutting part.
4. Increase in aperture
reason
1. The design value of the outer diameter of the reamer is too large or there are burrs on the cutting edge of the reamer.
2. The cutting speed is too high.
3. Improper feed rate or excessive machining allowance.
4. The main deviation angle of the reamer is too large; The reamer is bent.
5. There is a chip lump attached to the cutting edge of the hinge cutting.
6. When grinding, the swing deviation of the hinge cutting edge exceeds the tolerance.
7. The selection of Cutting fluid is inappropriate.
8. When installing the reamer, the surface of the cone handle is not cleaned of oil stains or there are bumps and bruises on the cone surface.
9. The flat tail of the taper handle is offset and interferes with the taper of the taper handle after being installed into the machine tool spindle.
10. The spindle is bent or the spindle bearings are too loose or damaged.
11. The floating of the reamer is not flexible.
12. When the axis is different from the workpiece and hand reaming, the force on both hands is uneven, causing the reamer to sway left and right.
Response measures
1. The design value of the outer diameter of the reamer is too large or there are burrs on the cutting edge of the reamer.
2. The cutting speed is too high.
3. Improper feed rate or excessive machining allowance.
4. The main deviation angle of the reamer is too large; The reamer is bent.
5. There is a chip lump attached to the cutting edge of the hinge cutting.
6. When grinding, the swing deviation of the hinge cutting edge exceeds the tolerance.
7. The selection of Cutting fluid is inappropriate.
8. When installing the reamer, the surface of the cone handle is not cleaned of oil stains or there are bumps and bruises on the cone surface.
9. The flat tail of the taper handle is offset and interferes with the taper of the taper handle after being installed into the machine tool spindle.
10. The spindle is bent or the spindle bearings are too loose or damaged.
11. The floating of the reamer is not flexible.
12. When the axis is different from the workpiece and hand reaming, the force on both hands is uneven, causing the reamer to sway left and right.

5. There are edges on the surface of the inner hole
Reason
1. Excessive reaming allowance.
2. The cutting angle of the reamer is too large.
3. The cutting edge of the reamer is too narrow.
4. There are pores, sand holes, and excessive spindle runout on the surface of the workpiece.
Response measures
1. Reduce the allowance for reaming.
2. Reduce the back angle of the cutting section.
3. Grind the width of the blade belt.
4. Select qualified blanks.
6. Broken handle
Reason
1. The reamer is too long and lacks rigidity, resulting in vibration during reaming.
2. The main deviation angle of the reamer is too small.
3. Narrow hinge cutting edge band; Excessive reaming allowance.
4. There are notches and cross holes on the surface of the inner hole.
5. There are sand holes and pores on the surface of the hole.
6. The spindle bearing is loose, without a guide sleeve, or the clearance between the reamer and the guide sleeve is too large, or due to the installation of thin-walled workpieces
7. The clamp is too tight and the workpiece deforms after removal.
Response measures
1. Reduce cutting speed.
2. Select Cutting fluid according to the processing materials.
3. Reduce the main deviation angle appropriately and grind the cutting edge correctly.
4. Reduce the reaming allowance appropriately.
5. Improve the accuracy and quality of the bottom hole position before reaming or increase the reaming allowance.
6. Grind the width of the blade belt.
7. Reduce the number of teeth on the reamer according to the specific situation, increase the space for the chip holding groove, or use a reamer with a blade inclination angle to ensure smooth chip removal.
8. Regularly replace the reamer and remove the grinding area during blade grinding.
9. During the grinding, use, and transportation of the reamer, protective measures should be taken to avoid collision.
10. For the damaged reamer, use a fine oilstone to repair it or replace it.
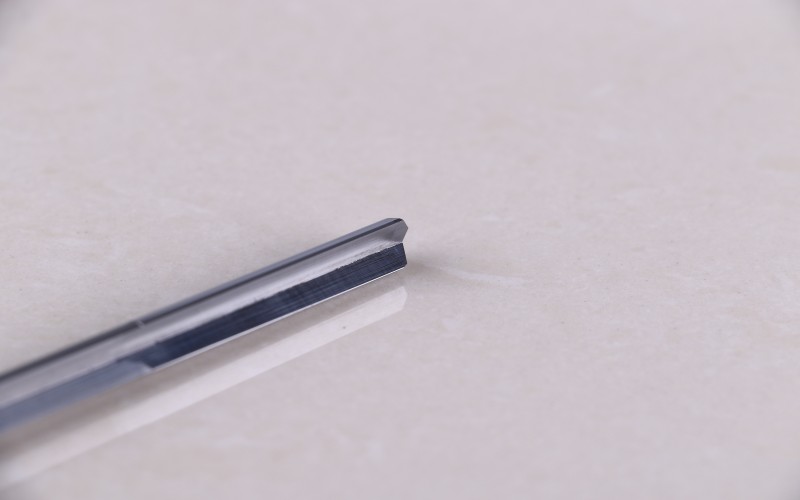
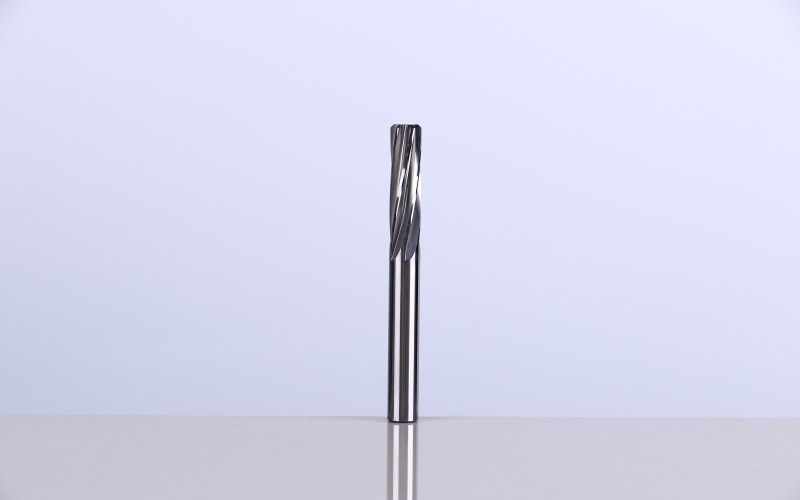
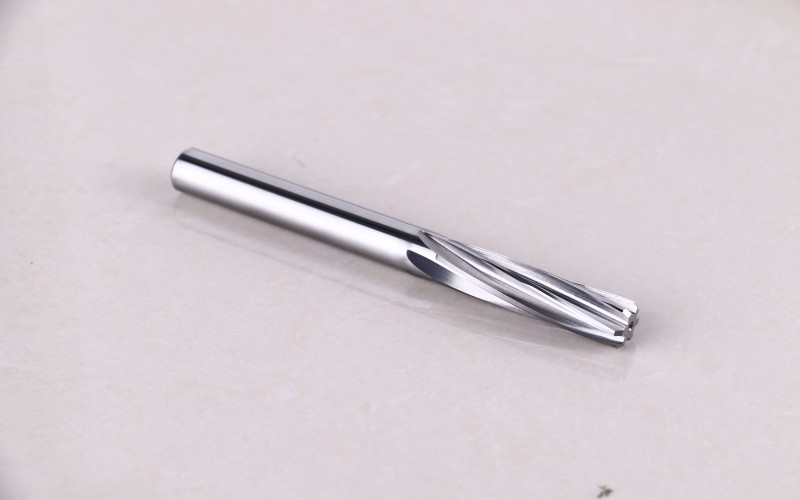
Of course, you must have an excellent tool supplier. OPT cutting tools is a high-quality supplier specializing in the production of various standard/non-standard carbide reamer and PCD reamer
Shenzhen OPT Cutting Tool Co., Ltd. one of the leading manufacturer in China, specialties in developing and producing carbides and PCD diamond tools
Post time: Jun-16-2023